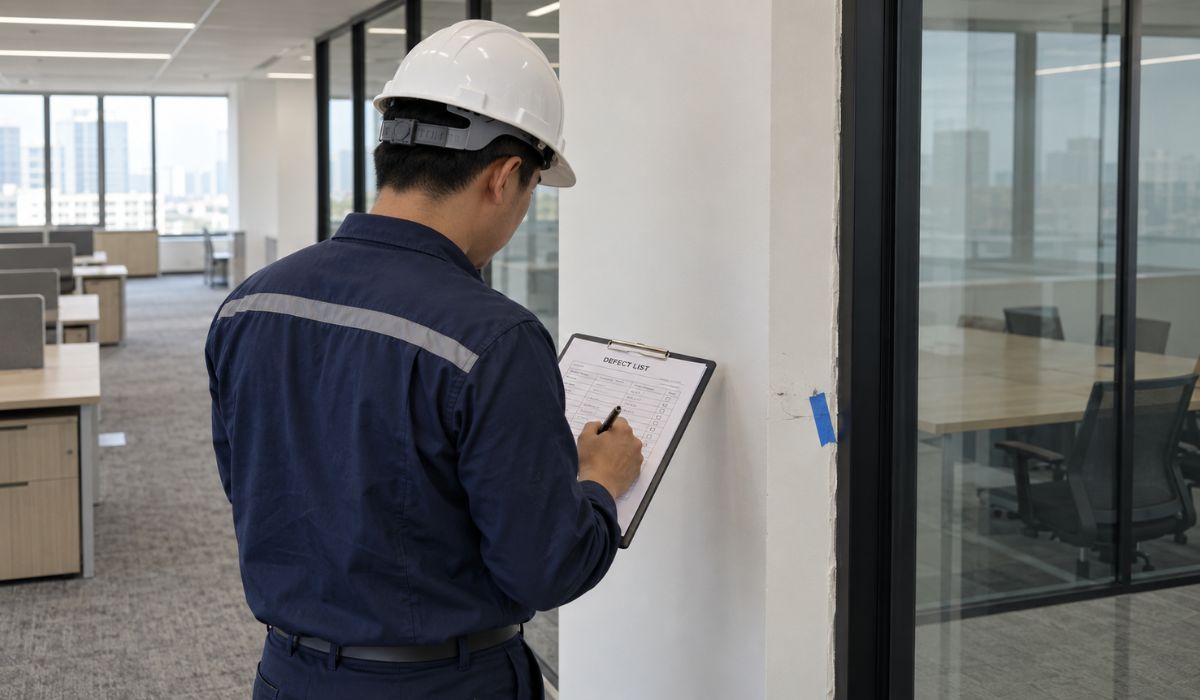
A defect list helps businesses record and track faults and outstanding items that need attention during office fit-out, inspection, and handover. It gives project stakeholders a shared basis for coordinating corrective work, updating statuses, and rechecking items before confirming that they meet project requirements.
1. What is a defect list?
A defect list is a record of faults, deviations, or items that need correction before project acceptance or handover. Each entry typically identifies the location, what does not meet the requirements, the reference used for comparison, and the information needed to track the corrective work through reinspection and completion approval.
2. The role of a defect list in quality management
In office design and build quality management, a defect list turns identified issues into tasks that can be assigned, tracked, and rechecked throughout the correction process.
- Quality control: Consolidates items that need correction and tracks them through reinspection.
- Responsibility assignment: Assigns each defect to the appropriate point of contact based on the project scope and responsibilities.
- Corrective work tracking: Records deadlines and statuses to show whether a defect is being addressed, awaiting reinspection, or closed.
- Risk-based prioritization: Ranks defects by their impact on safety, functionality, and related work.
- Cost control: Early correction reduces the risk of rework or damage to completed items.
- Project acceptance support: Consolidates outstanding items and supports review before acceptance is confirmed.
- Transparency: Records each defect, its owner, deadline, and status so all parties can track progress.
- Warranty support and traceability: Retains defect history and corrective work results for reference during warranty claims under the project documentation.
3. When to use a defect list in office construction
A defect list can be used at different stages of an office project, depending on the scope of work and quality management process:
- During construction: Records defects found while work is underway so they can be corrected before they affect subsequent work.
- Before project acceptance: Consolidates items found during quality inspections or reviews of completed work.
- During handover: Records outstanding defects before the space is put into use and supports follow-up on corrective work.
- After handover: Tracks defects identified during use or the warranty period, depending on the project requirements.
4. How to prepare and manage a defect list
A practical defect list needs enough information for the responsible party to identify the issue, understand the required correction, and report the outcome. The project team can prepare and manage it through the following steps.
4.1. Define the scope and format
Before recording defects, the project team should agree on which work packages, areas, and stages the list covers. They should also choose a format that suits the number of defects and parties involved, such as a spreadsheet, project management software, or a dedicated tracking system.
4.2. Set up tracking fields
The defect list should have consistent fields so each entry can be assigned, monitored, and checked. Depending on the project, these may include:
- Defect ID.
- Date recorded.
- Floor, room, or specific location.
- Defect description.
- Drawing, technical requirement, or other reference.
- Severity and defect type.
- Responsible person or company.
- Corrective action and deadline.
- Current status.
- Reinspection result.
- Photos or supporting documents.
The fields should suit the project's actual needs. A simple list may be sufficient for a small project, while a larger project may need extra fields to track multiple parties, deadlines, and approval records.
4.3. Record each defect
Each defect should be entered as a separate item, with a description of the observed condition and how it differs from the relevant requirement. The location should be specific enough to find the issue. Where needed, include a drawing reference, photograph, or other evidence.
4.4. Classify and prioritize defects
Defects can be classified by severity, location, type, cause, stage of discovery, or status. Severity levels and priority criteria should be agreed upon by the project team. Priority should reflect the defect’s impact on safety, functionality, schedule, and acceptance requirements. If the project uses its own classification system, all parties should apply the agreed criteria consistently.
4.5. Assign responsibility
Each defect should be assigned to one primary party responsible for coordinating corrective work and updating its status. Assignments should be based on the scope of work, contract, and responsibilities agreed by the project parties.
If a defect involves several parties, identify which party will lead the coordination. This helps prevent interruptions to the correction process while keeping contractual responsibility grounded in the project documents and agreements.
4.6. Specify corrective actions and deadlines
For each defect, specify the corrective action, the party carrying it out, the completion deadline, and the evidence to provide after the work is done. Record any dependencies on materials, equipment, or site conditions. Deadlines should reflect the defect’s impact, the handover schedule, and the conditions for carrying out the work.
4.7. Issue and track the list
Before sharing the defect list with relevant parties, the coordinator should review the entries, remove duplicates, and verify the assignments. Here, “issue” means distributing the list so the parties can coordinate corrective work and track progress.
Tracking should focus on:
- Sending each defect to the correct person or responsible party.
- Confirming the deadline for each correction.
- Updating statuses to reflect actual progress.
- Monitoring overdue defects or those that could affect the handover schedule.
4.8. Reinspect after corrective work
When the responsible party reports that work is complete, the assigned inspector should compare the result with the original requirement. Confirmation may include checking that:
- The defect was corrected at the specified location.
- The result meets the drawings and technical requirements.
- The corrective work did not create related defects.
- Equipment or systems operate as required.
- Measurement results, test records, or confirmation documents are complete where needed.
A defect moves to closure after the corrective result has been inspected and accepted. If it does not meet the requirements, it should remain under tracking for further work.
4.9. Close defects and retain records
A defect can be closed when corrective work is complete, the reinspection confirms that the result meets the requirements, and no further action is needed. The assigned approver should update the status, closure date, and related documents.
Retained records should include:
- The defect list with the final status of each item.
- Photos taken before and after correction.
- Reinspection results.
- Related acceptance records, if any.
- Material documents, measurement results, or commissioning records, where applicable.
Complete records help the parties review how defects were handled during handover, warranty work, or subsequent issue resolution.
5. How to classify defects in a defect list
A defect can have multiple attributes to make filtering, assignment, and tracking easier. The project team should agree on a classification method so all parties use the same criteria.
5.1. Classification by severity
Severity indicates how a defect affects the project, such as its impact on safety, functionality, quality, or acceptance requirements. Depending on the project’s management approach, defects can be grouped into four levels to set priorities.
| Severity | Criteria | Example |
|---|---|---|
| Critical | Directly affects safety or prevents an essential system from operating | The fire alarm system does not operate in an area that requires protection |
| Major | Clearly affects functionality, quality, or acceptance requirements | A door cannot close or the air conditioning does not operate |
| Minor | Has little impact on functionality but still needs correction | An uneven joint or a loose electrical outlet |
| Cosmetic | Primarily affects the surface or appearance of the finish | Paint smears, scratches, or a small dent |
Severity should be based on the defect’s impact and the consequences of leaving it unresolved. The specific criteria for each level depend on the project requirements and management approach.
5.2. Classification by location
Locations can be organized at different levels so the responsible party can find each defect and inspectors can revisit it:
- Floor: The third floor, fifth floor, or a mechanical floor.
- Space: A work area, meeting room, pantry, corridor, or restroom.
- Specific location within a space: The east-facing wall, an entrance door, or an area near a window.
- Related detail: A glass partition, door, electrical outlet, or equipment at the specified location.
The location should be specific enough for the recipient to find the defect. For example, “Floor 5 – Meeting Room 02 – east glass partition” is clearer than “Meeting Room 02.”
5.3. Classification by defect type
Based on the required action, defects can be divided into four groups to clarify the next step:
| Defect type | Description | Example |
|---|---|---|
| Fix | An installed item does not meet the requirements | Uneven paint or a cracked finish |
| Add | An item is missing or has not been fully installed | A missing outlet cover or an uninstalled light |
| Test | An item needs inspection, trial operation, or result confirmation | The air conditioner has not been test-run or the door lock needs an operational check |
| Remove | Excess material or an unwanted part needs to be dismantled or cleared | Protective film has not been removed or construction materials remain on site |
Group names may vary depending on the project’s tools and management approach. Once a classification system is selected, all parties should use it consistently throughout the defect list.
5.4. Classification by cause
Identifying the cause helps determine the corrective approach and which parties need to coordinate. Defects can be grouped as follows:
- Design: Documentation lacks detail, contains discrepancies, or does not suit actual site conditions.
- Materials: Materials are the wrong specification, damaged, or do not meet project requirements.
- Construction: Work does not follow the approved dimensions, methods, or documentation.
- Coordination: Work by different parties conflicts, or information was not fully handed over.
- External impact: Damage caused by transportation, impact, humidity, or events after the finish was completed.
The initially recorded cause may change after further inspection. Issues involving contractual responsibility should be verified against the project documents and each party’s scope of work.
5.5. Classification by stage of discovery
Defects can be classified by when they are found to identify the project stage in which they occurred:
- During construction: Found while the work is being carried out.
- Before project acceptance: Found during a quality inspection or review of completed work.
- At handover: Recorded before the space is put into use.
- After handover: Found during use or the warranty period, depending on the circumstances.
In addition to the time of discovery, defects can be distinguished by how easily they can be detected. Obvious defects can be found through observation or routine inspection, while concealed defects may appear only after a period of use or when certain conditions arise.
5.6. Classification by status
Statuses help the parties track progress and identify the next action for each defect. Depending on the project’s management approach, the following statuses may be used:
| Status | Meaning |
|---|---|
| Open | The defect has been recorded, but corrective work has not started |
| Assigned | The defect has been assigned to a responsible person or party |
| In progress | Corrective work is underway |
| Pending | Work is waiting for materials, approval, or required information |
| Completed | The responsible party has finished the corrective work, and the defect is awaiting reinspection |
| Verified/Closed | The corrective result has been inspected and meets the requirements |
| Reopened | The inspection result did not meet the requirements, so further work is needed |
“Completed” should be distinguished from “Verified/Closed.” A defect should only be closed after the corrective result has been inspected and confirmed to meet the project’s requirements.
Example defect ID: DL-EL-MAJOR-F05-OPEN
Where:
- DL: Defect list category code defined by the project.
- EL: Electrical work.
- MAJOR: Major defect.
- F05: Fifth floor.
- OPEN: Not yet addressed.
The coding method may vary by project. Codes should be clearly defined and used consistently throughout the defect list.
6. How to assess and prioritize defects in a defect list
Defect priority should be based on the impact, deadline, and conditions for corrective work. Consider the criteria together to determine which defects need attention first.
| Criterion | What to assess |
|---|---|
| Safety impact | The effect on user safety or the operation of the facility |
| Functional impact | Whether an item or system can perform its required function |
| Deviation from requirements | The degree of noncompliance with drawings, technical requirements, or acceptance conditions |
| Scope of impact | Whether the defect affects one location or multiple related locations or items |
| Impact on subsequent work | Whether it could disrupt the construction sequence or schedule of related work |
| Complexity of correction | The scope of repair, materials to be replaced, and coordination required |
| Deadline | Time remaining, whether the item is overdue, and any related schedule milestones |
| Risk of additional costs | The likelihood of rework or impact on completed items |
The assessment helps determine the order in which defects should be addressed. Each project should agree on its criteria and priority levels based on its requirements, schedule, and management approach.
7. Considerations when using a defect list
A defect list should be updated clearly and consistently so the parties can identify each defect, its owner, and its status. Missing location details, evidence, or reinspection results can interrupt tracking and confirmation of corrective work.
7.1. Describe defects clearly
The description should state the observed condition and identify the location or item that does not meet the requirements. Phrases such as “poor workmanship” or “not acceptable” do not provide enough information to define the required action. The entry should explain what is wrong and what result is expected after correction.
7.2. Specify the exact location
Each defect should have a location specific enough for the responsible party to find it during correction and inspection. In a facility with multiple floors or rooms, record the floor, room name or number, and specific location within the space. Add a drawing reference or location marker when needed to clarify where the defect occurred.
7.3. Attach photos and supporting evidence
Photos should clearly show the condition and location of the defect when it is recorded. If comparison with drawings, approved samples, or technical requirements is needed, retain the relevant documents with the defect entry. Photos taken after correction also help inspectors compare the result with the original condition before confirming completion.
7.4. Assign responsibility to the right party
Each defect should be assigned to the person or party whose scope of work is relevant. Clear assignments help the parties track progress and know where to provide updates when the status changes. The party assigned to carry out the correction is not necessarily the party contractually responsible. Contractual responsibility should be determined based on the scope of work and related documentation.
7.5. Set a specific deadline
Each defect should have a deadline so the responsible party knows when the work must be completed before reinspection. Set the deadline based on the impact, scope of corrective work, and schedule of related activities.
7.6. Prioritize critical defects
Defects that affect safety, functionality, or the schedule of related work should be addressed first. Minor cosmetic defects can be scheduled later if they do not affect other work. Update priorities if the impact or project schedule changes.
7.7. Update statuses regularly
Statuses should reflect actual progress at the time of each update. After the responsible party completes the correction, the status should change to awaiting reinspection instead of remaining “In progress.” A defect should only move to “Closed” after the corrective result has been inspected and confirmed to meet the requirements.
7.8. Do not close defects based on a report alone
A completion notice from the responsible party should be checked before a defect is closed. The assigned inspector should compare the condition after correction with the requirement used when the defect was recorded. If the result does not meet the requirements, keep the defect under tracking or reopen it, depending on the project’s process.
7.9. Retain complete records
The records should capture the full process from discovery through confirmation of the corrective result. Depending on the defect, the retained information may include:
- The original description and recorded data.
- Photos taken before and after correction.
- Drawings or documents used for comparison.
- Assignment history and status updates.
- Reinspection results and related confirmation documents.
These records help the parties review corrective work during acceptance, handover, or warranty service.
7.10. Avoid duplicate entries
Before creating a new defect entry, compare its location, work item, and description with existing entries. Recording the same defect more than once can duplicate corrective tasks and create inconsistent status updates. If the same type of defect appears in multiple locations and needs separate tracking, record each location as an individual entry. Agree on this approach when setting up the defect list.
A defect list should be maintained consistently throughout the correction process, with clear information about each defect, its owner, status, and reinspection result. Before finalizing the list, the business should review all open defects and confirm that corrected items meet the project requirements.
8. Frequently asked questions (FAQ)
8.1. When should a business use a defect list?
A business can use a defect list to record and track multiple issues during construction, finishing inspections, handover, or follow-up on outstanding items after handover. When to use it depends on the scope of work and the project’s quality management process.
8.2. Who is responsible for preparing a defect list?
The person who prepares and manages the defect list is determined by the scope of work, contract, and project organization. This role may belong to the project owner, project management team, supervision consultant, contractor, or another assigned person. The person recording defects, carrying out corrections, and confirming results may also differ.
8.3. Is a defect list required for every project?
A defect list is not a universal form required for every project. Recording and resolving outstanding items should follow the quality management, acceptance, contractual, and documentation requirements applicable to each project.
8.4. Does a defect list replace an acceptance record?
No. A defect list records, assigns, and tracks issues that need correction. An acceptance record documents the acceptance result under the requirements and process applicable to the project. The two documents serve different purposes.
8.5. Should a business use Excel or software to manage defects?
Excel is suitable for projects with few defects, few participants, and simple updating needs. Software is more suitable when a project needs to manage many defects and parties, photos, deadlines, notifications, and change history. Businesses should choose a tool based on the project’s size and how the parties coordinate.